ZEM Brush Ambassador Erika Barriga is a freelance watercolor
illustrator. Her beautiful pieces are
whimsical and playful, perfect for kids and kids at heart. She has given us a little peek behind the
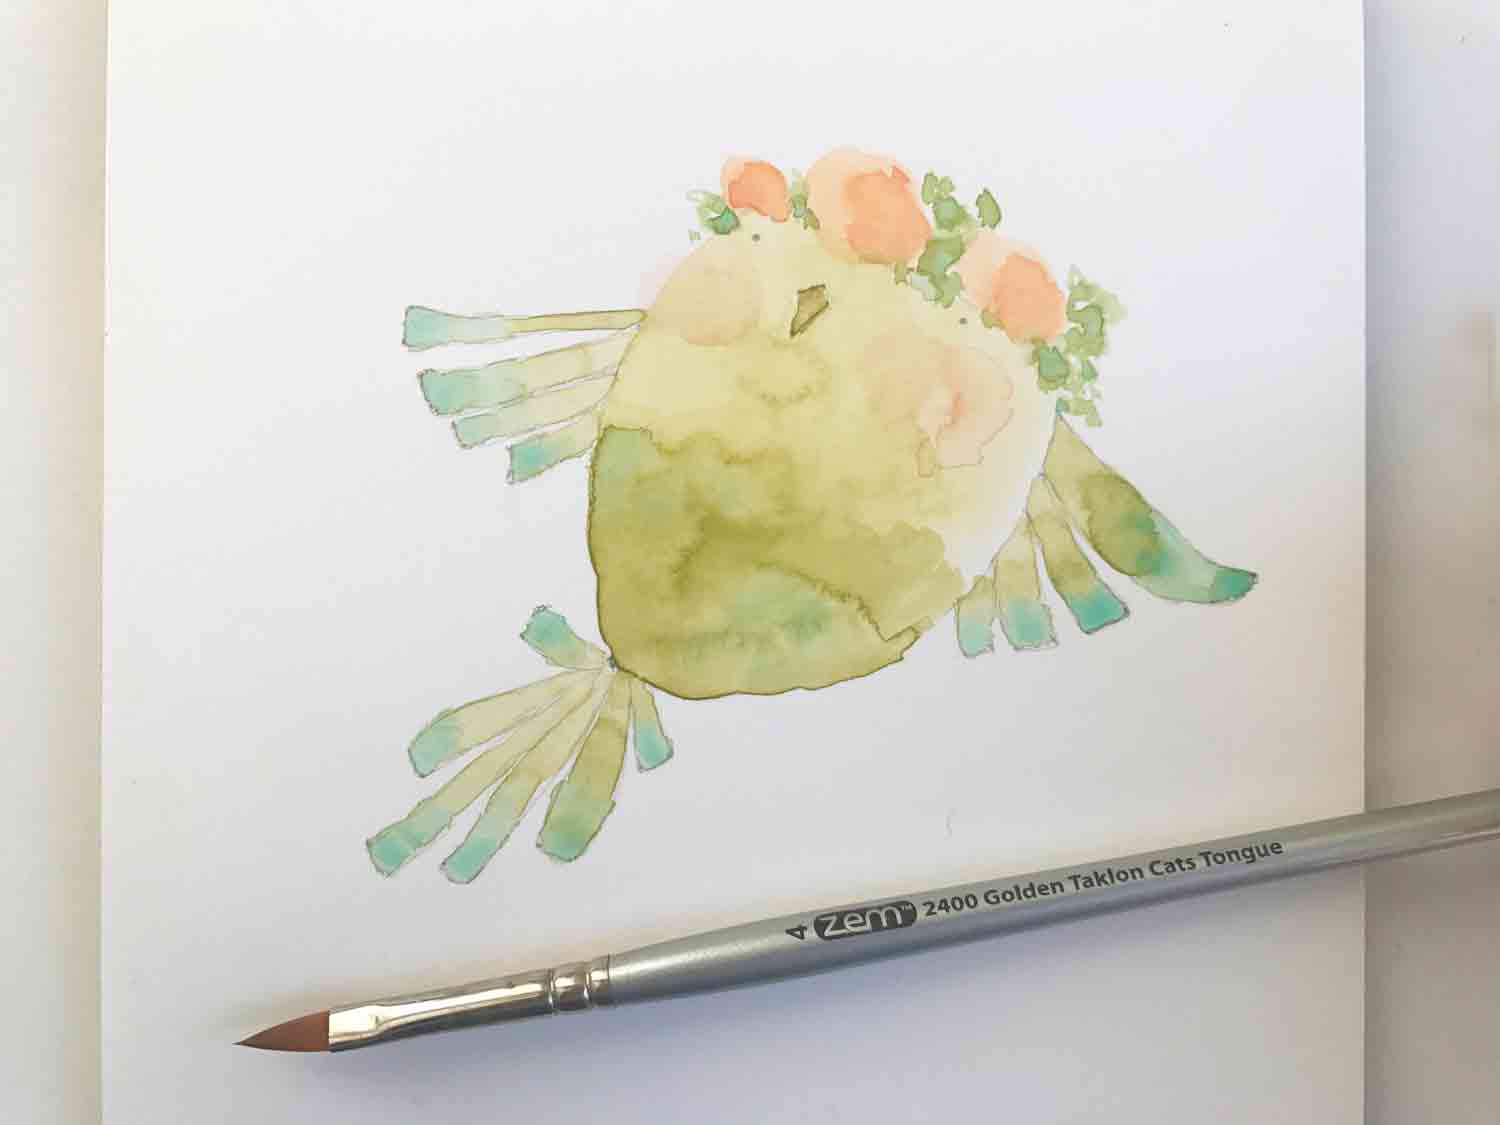
scenes at her process, from pencil drawing to the final illustration. Her favorite ZEM brush is the no. 4 2400 Golden Taklon Cat's Tongue brush. Find
more of her work at www.Fluximagery.com and in her Etsy
shop. www.etsy.com/shop/fluximagery
Step 1 - All of my illustrations start with either sketching in my watercolor journal or drawing directly onto my watercolor paper block. I find that sketching daily every day, even if it is just mark making and not a full story, is so beneficial. This practice has helped me many times when I was completely stuck for ideas.I can go into my sketches, pull an idea from there to start with and before I know it I am getting other ideas and having fun.
I love a fine tip so I draw lightly with a .03 mechanical pencil. Any pencil marks that I’m thinking about but are unsure of, I leave for later.Once pencil marks are painted over, they can’t be erased so I’m mindful of that before committing.
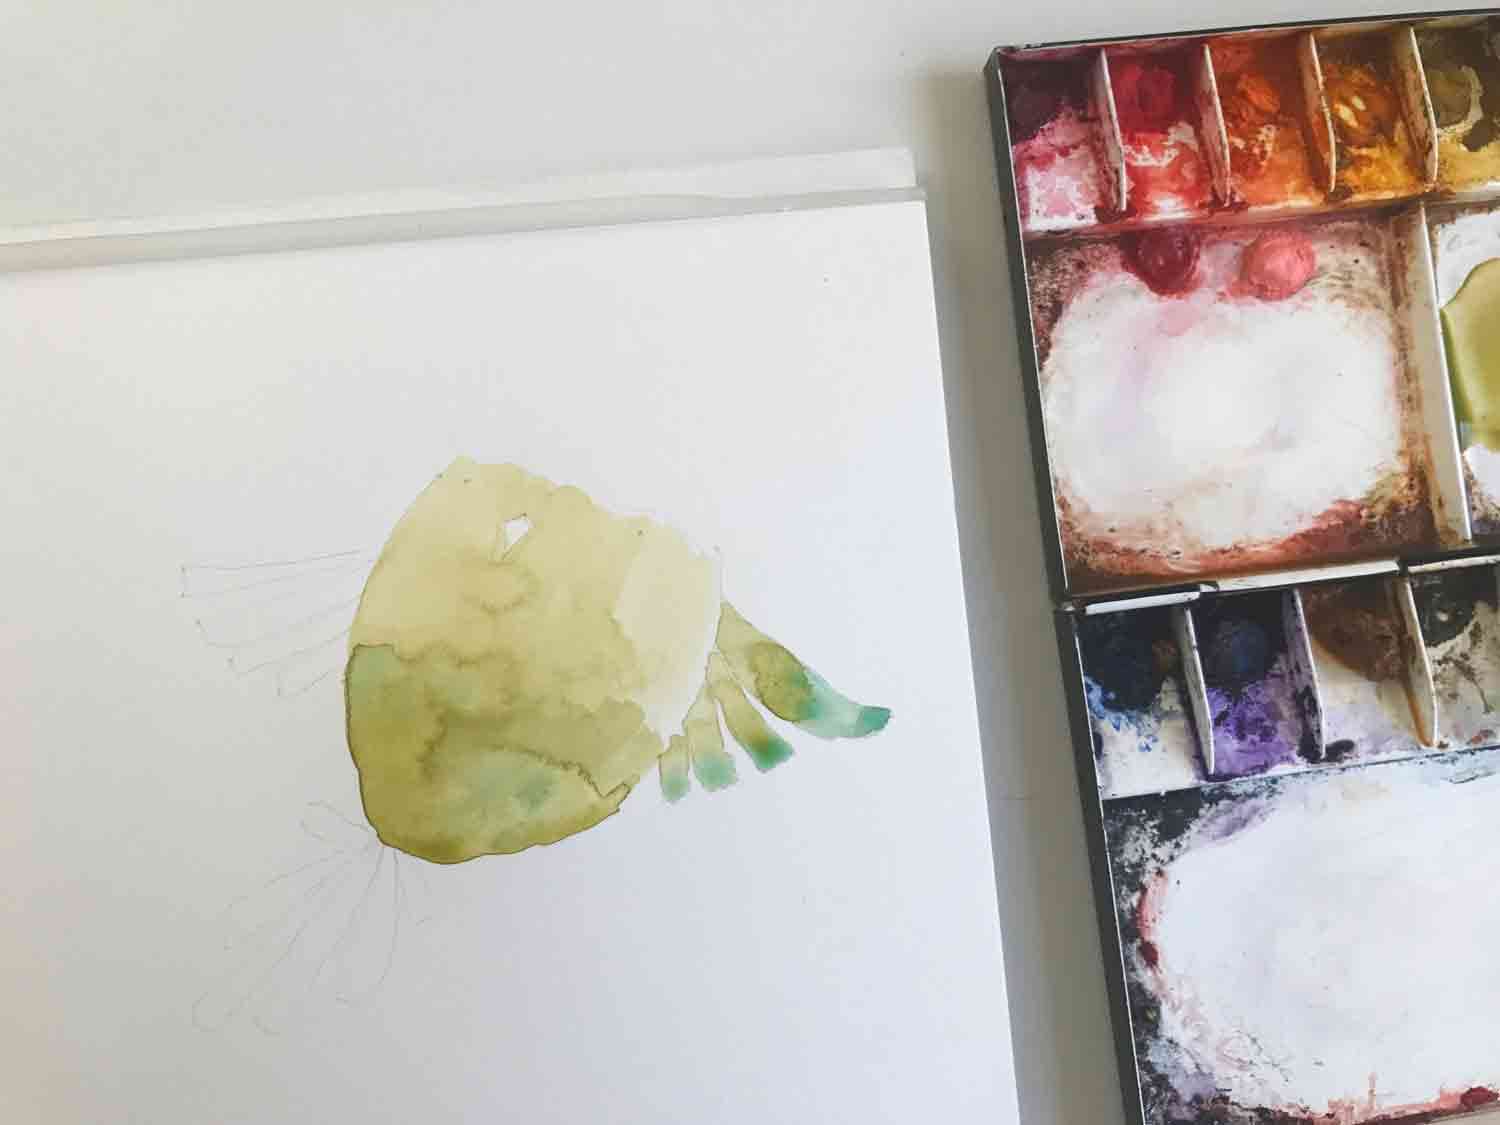
Step 2 –After I have my drawing down, I think about the color story. I prefer a limited palette and always keep in mind the emotion and vibe I am going for when choosing colors.I love making gradient washes, dropping in colors or layering to pump up the values where needed.Mixing colors happens in my pan as well as on paper; each approach has a different effect. By using a limited color palette, I also maintain balance in my paintings. This involves shifting colors slightly with my color mixing.
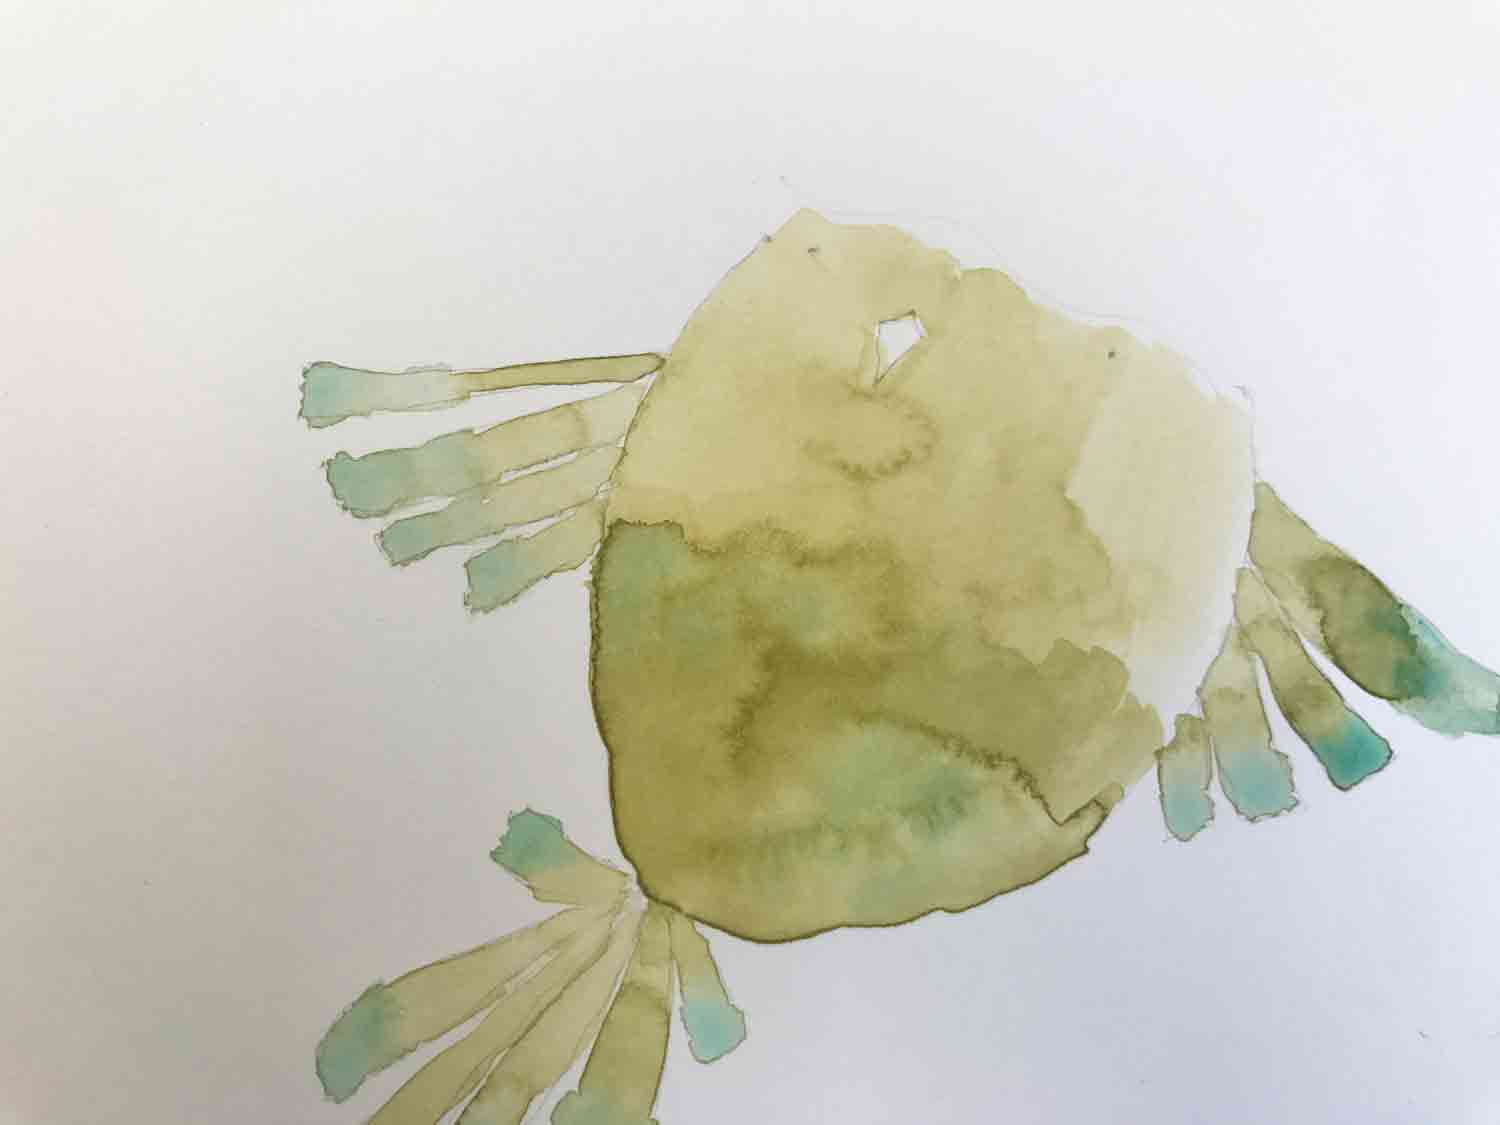
I go back to my main shapes and I think about values and start laying down washes. The Cat's tongue brush is my favorite because it is so versatile.I only used this brush for this entire painting.
Here I varied the amounts of yellow in my green. I continue painting while constantly looking at my overall composition to check that the colors are working together. I tend not to overwork my paintings so I stop when I am happy with the overall flow of the piece.
Step 3 – I usually work out all of the different values, darks and lights, in the first washes of my paintings. If I look over the painting and see where darks could be added, I use glazing techniques to make the darks darker. I am keeping in mind where I want the viewer’s eyes to go and focus on the most important areas of my paintings. The most expressive part of this Brave Boho Bird are the color mixed washes on the main body.
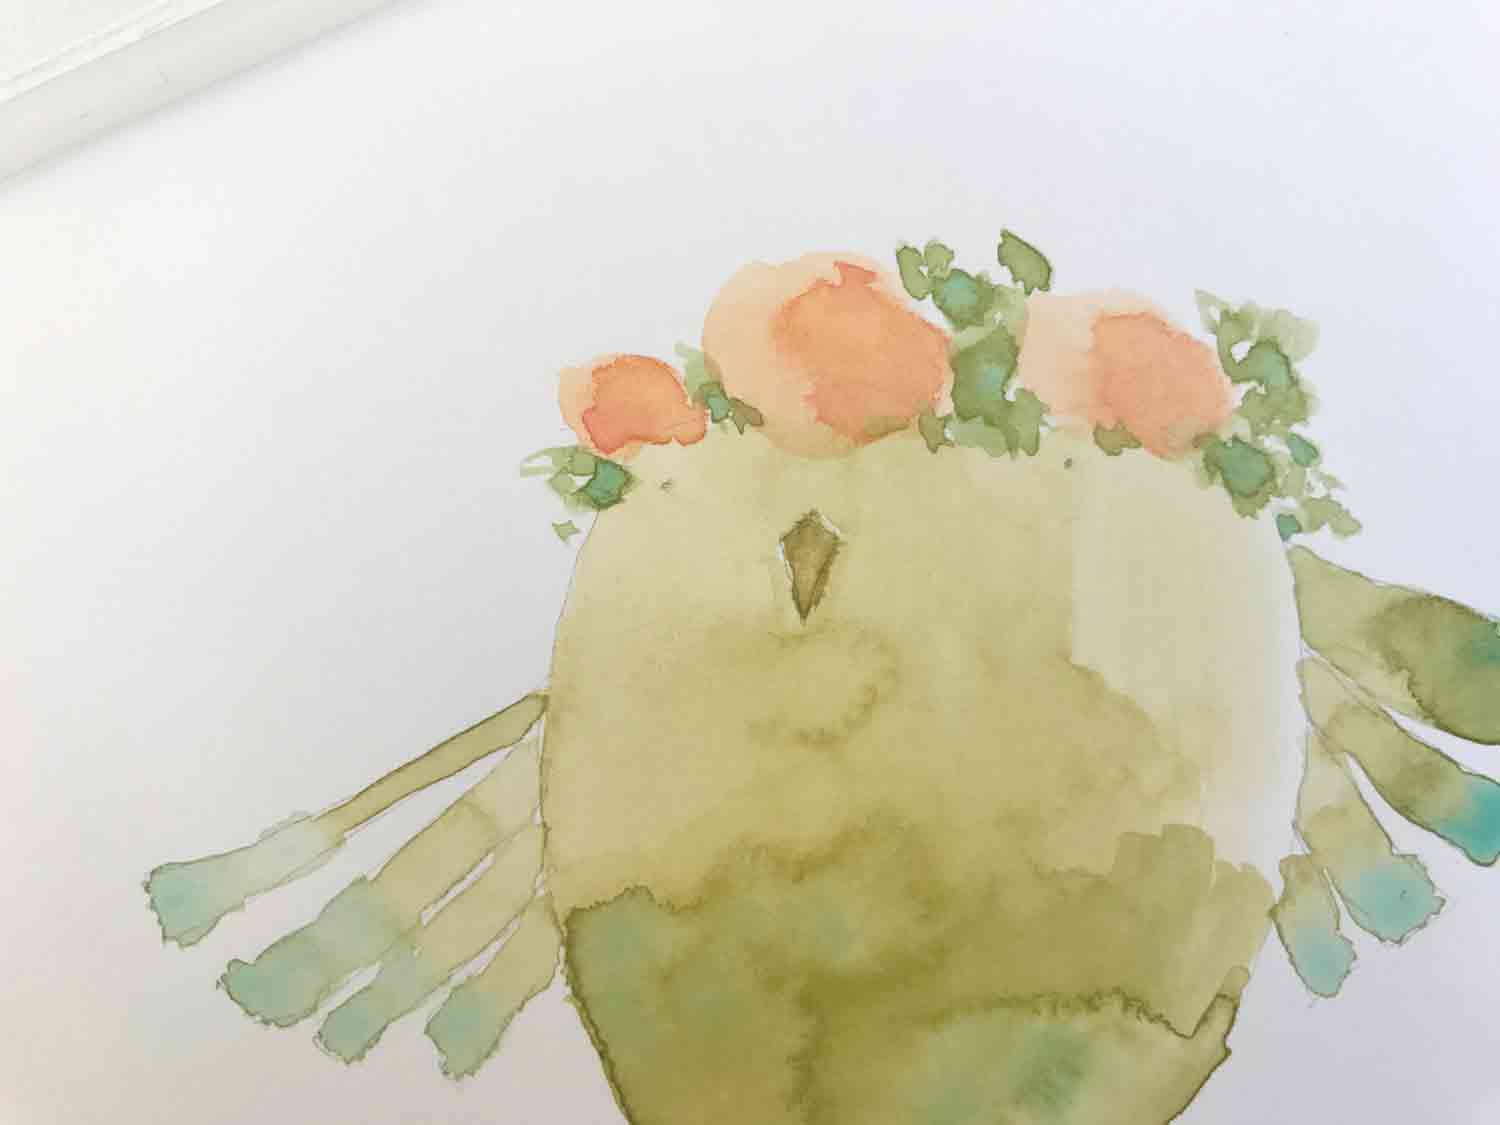
Step 4 – I didn’t want the flower headband to bleed into the bird too much so I worked on the body first, the wings and then the tail. The flowers were painted with light values first and right before they dried, I dropped in darker values for contrast.Continually mixing colors so the yellows and pinks, making orange, were harmonious throughout. The leaves were dropped in while the flowers were drying so they softly mixed together on the paper.
Step 5 – It’s time for the details, my favorite part. The bird got its flush of blush that coordinated with the flowers. I love having the pencil marks show through and I also finish up with fine details with my pencil as well.This provides visual interest and adds to the overall style of my pieces. With all of the colors added, it is easier to see if areas with pencil marks are hard to read, like the eyes for example.
I do a final look over the painting to check the values and details and when I feel like I’m just adding to add, I call it done. I enjoyed painting this Brave Boho Bird and I hope the step-by-step helps you with your process as well.